 Sudden Valley Siding
 New-Construction Windows for Barkley Homes
Barkley sits close enough to Bellingham Bay and Lake Whatcom's moisture belt that window decisions made during framing carry consequences for decades. When a home is being built or an addition is going up, the window opening is wide open — no siding, no trim, no finished wall to work around. That's the one window in the whole life of a house where the installer has full access to the rough opening, the sheathing, and the water-resistive barrier before anything gets covered up. Get it right at that stage and the windows perform for 30-plus years. Get it wrong and you're chasing leaks behind finished walls a few winters later.
We install new-construction windows on homes going up in and around Barkley, working directly with builders, general contractors, and owner-builders during the framing and dry-in phase. This page covers what that work actually involves, what Whatcom County's climate demands from a new window opening, and why the installation sequence matters as much as the window itself.
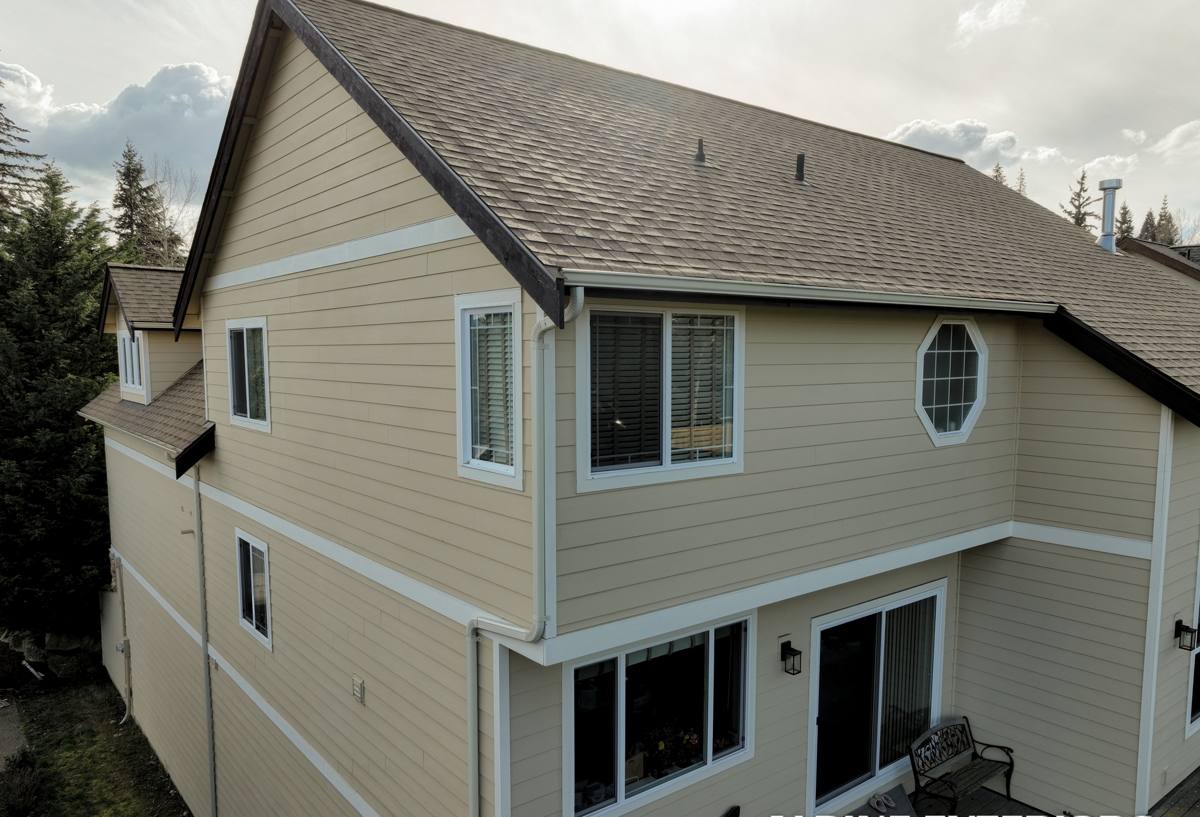
Why Barkley's Climate Changes the Job
Barkley isn't a coastal neighborhood in the postcard sense, but it's close enough to the Salish Sea and Bellingham Bay to catch salt-laden air on a regular basis, especially on west and southwest exposures. Combine that with the driving rain that comes through Whatcom County on a wind-driven storm track, and a long wet season that keeps roofs, siding, and window trim damp for months at a stretch, and you get a set of conditions that punish shortcuts.
Three things matter most for new-construction windows here:
- Flashing integrity. Wind-driven rain doesn't just fall on a window — it gets pushed sideways and upward under sills and around trim. Flashing has to be layered correctly, not just present.
- Moss and organic growth. The same dampness that keeps roofs mossy also collects on horizontal window trim, sills, and any flat surface that doesn't shed water quickly. Detailing that avoids flat, water-holding ledges pays off over time.
- Corrosion resistance. Salt air accelerates corrosion on fasteners, hinges, and lesser-grade hardware. Cheaper components show it first around window operators and cranks.
None of this means Barkley needs exotic materials. It means ordinary materials have to be installed with the sequencing and flashing details that this climate actually requires — not the minimum a builder in a drier region might get away with.
What a Correct New-Construction Window Install Involves
The Rough Opening
Before a window ever goes in, the rough opening needs to be square, level, and sized correctly with the manufacturer's tolerances — not just "close enough to force it in." An opening that's out of square stresses the window frame, which can bind operable sashes and compromise the seal along one edge.
Water-Resistive Barrier and Flashing Sequence
This is where most long-term leaks originate, and it's also where cutting corners is invisible until years later. The correct sequence — sill pan flashing first, then the window unit, then jamb flashing, then head flashing lapped over the top, all integrated with the house wrap in a shingle-lap pattern so water is always directed outward and down — has to happen in order. Skip the sill pan or lap a layer backward, and water finds its way behind the wall long before anyone notices a stain.
Nailing Fin and Fastening
New-construction windows use a nailing fin that's fastened directly to the sheathing, which is what lets flashing be integrated properly in a way retrofit windows can't achieve. Fastener spacing and placement matter for both structural performance and for keeping the fin flat against the wall so flashing tape adheres properly.
Sealing and Insulation
The gap between the window frame and rough opening needs to be insulated — typically with low-expansion foam or backer rod and sealant, not standard high-expansion foam, which can bow window frames and interfere with operation. Interior air sealing matters as much as exterior weatherproofing for comfort and energy performance.
Our Process on a Barkley Build
| Stage | What Happens |
|---|---|
| Plan review | We review window schedules and rough opening dimensions against the architectural plans before framing is finalized, catching sizing conflicts early. |
| Rough opening check | Once framing is up, we verify openings are square, plumb, and correctly sized before installation begins. |
| Sill pan and flashing | Sill pans are installed first, followed by the window and a full shingle-lap flashing sequence integrated with the WRB. |
| Window setting | Windows are set, shimmed level and plumb, and fastened per manufacturer specification. |
| Insulation and sealing | Perimeter gaps are insulated and sealed on both interior and exterior faces. |
| Final inspection | We check operation, seal continuity, and flashing laps before the wall is closed up and siding goes on. |
Coordinating with the builder's schedule is part of the job. Windows generally need to go in after the roof is dried in but before siding starts, and we work around that window (no pun intended) so the crew isn't waiting on us or vice versa.
Choosing Window Products for This Area
We install vinyl, fiberglass, and composite window lines from established manufacturers, and we steer clients toward products with corrosion-resistant hardware and glazing packages suited to the Pacific Northwest's cooler, wetter climate rather than a dry-climate spec. Low-E glass with the right solar heat gain coefficient for our region helps with comfort and energy bills without over-darkening interior spaces on our already gray winter days.
We're selective about which lines we install on new construction. Our standard is straightforward: does the window's hardware and finish hold up to salt air and constant moisture exposure without excessive maintenance, and does the manufacturer's flashing and installation guidance align with proper wall assembly practice. Some budget product lines use lower-grade weatherstripping or hardware that shows wear faster in coastal-adjacent conditions — that's a maintenance and longevity tradeoff we're upfront about, not a knock on any single brand.
Frame Material Comparison for New Construction
| Frame Type | Moisture Performance | Maintenance | Typical Use |
|---|---|---|---|
| Vinyl | Good — won't rot or corrode | Low | Most common, cost-effective choice |
| Fiberglass | Very good — dimensionally stable in wet/dry cycles | Low | Larger openings, higher-end builds |
| Composite | Good to very good, varies by product | Low to moderate | Balance of cost and performance |
| Wood-clad | Depends heavily on cladding and detailing | Higher — cladding seams need monitoring | Design-driven choices, interior wood look |
Cost Factors for a New-Construction Window Package
Pricing on new-construction windows varies with the number and size of openings, frame material, glass package, and how many operable versus fixed units are in the plan. Rather than quote a number that won't reflect your specific plans, here's what actually drives the cost:
- Window count and size. More openings and larger glass areas mean more material and labor.
- Frame material. Vinyl is generally the most economical; fiberglass and wood-clad units cost more.
- Glass package. Triple-pane, upgraded Low-E coatings, and tempered or laminated safety glass (required in certain locations by code) add cost.
- Operable vs. fixed. Operable windows (casement, double-hung, awning) cost more per unit than fixed picture windows.
- Site access and scheduling. Multi-story builds or tight lots can add labor time.
We give a firm, itemized quote once we've reviewed your window schedule — no per-window guessing.
Why a Crew That Works Barkley Already Matters
New-construction window installation isn't complicated in the abstract, but the details that separate a 30-year install from a 5-year leak are learned by seeing what actually goes wrong in this specific climate — not from a generic install manual written for a dry-climate market. A crew that's flashed openings through a wet Whatcom County fall knows where wind-driven rain actually tests a wall, which trim details collect moss and which shed water, and how salt air affects hardware over time in ways a one-time or out-of-area crew simply hasn't seen firsthand.
We also know how to work alongside general contractors and framing crews without becoming the bottleneck on a build schedule — showing up when the opening is ready, communicating clearly about what we need from the framing to do the job right, and not holding up the siding crew behind us.
A Practical Checklist for Your Builder or GC
- Confirm rough opening dimensions against the window schedule before framing is closed up
- Verify sill pan flashing is specified and installed before the window, not skipped
- Confirm flashing tape or membrane laps in shingle-fashion, working from bottom to top
- Check that fastener type and spacing match manufacturer specs for wind and structural load
- Ask what insulation type will be used in the perimeter gap — avoid high-expansion foam
- Confirm glazing spec matches the exposure — west and south-facing openings see the most weather
- Walk the openings before siding starts, while flashing is still visible and correctable
Let's Talk About Your Build
If you're framing a new home or addition in Barkley or elsewhere around Sudden Valley, we're happy to look at your window schedule and plans before installation day and flag anything worth adjusting early, when it's cheap to fix. Reach out for a free, no-pressure estimate — we'll walk your site, review your plans, and give you a straight answer on what the job involves and what it'll cost.