 Sudden Valley Siding
 Building New in the Acme Area? Get the Windows Right the First Time
New construction is the one chance to install windows the correct way from the start — no old flashing to work around, no rot to cut out, no shortcuts from a previous owner to undo. For homes going up in and around Acme, that first installation sets the tone for the next 20-30 years. Whatcom County's wet season is long, the humidity sits high for months at a time, and a lot of the tree cover in this part of the county keeps roofs and siding damp and shaded well after a storm has passed. Windows installed correctly at the framing stage handle all of that without complaint. Windows installed on a rushed schedule, or flashed with a "close enough" approach, tend to show it within a few winters — usually as staining, soft trim, or drafts that show up right where the flashing was cut short.
We install new-construction windows on builds throughout the greater Sudden Valley area, including Acme, and we treat the water management details as the actual job — not an afterthought to hanging the unit.
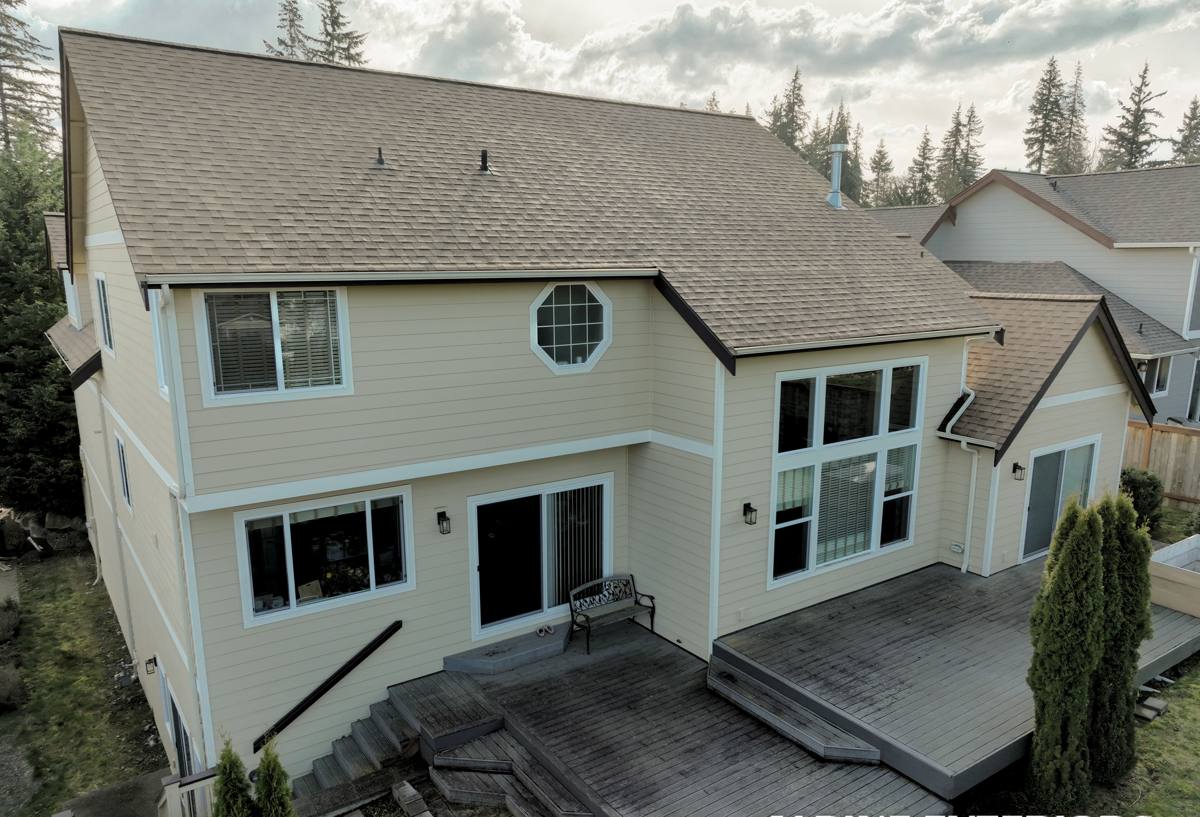
What Acme's Climate Actually Demands From a New Window Install
Acme sits in the kind of Whatcom County terrain where marine-influenced weather, driving rain, and shade from surrounding trees combine into a long wet season that doesn't let up quickly. That combination matters for new construction in a few specific ways:
- Driving rain needs a real drainage plane, not just caulk. Wind-driven rain during fall and winter storms pushes water sideways into wall assemblies. A window opening that relies on sealant alone to keep that water out will eventually fail — sealant is a backup, not the primary defense.
- Long moss season means constant moisture at grade and on lower walls. Moss holds water against siding and trim far longer than open sun would allow. Sill pans and end-dam flashing at the base of each window opening need to shed that trapped moisture outward, every time, without relying on paint or caulk to do the work.
- High ambient humidity slows drying. When a wall assembly does get wet — from a missed shingle-lap, a construction delay, or a wind-driven event before siding goes on — it needs weeks longer to dry out here than it would in a drier climate. That's exactly why the housewrap integration and flashing sequence have to be right the first time; there's no fast drying season to bail out a mistake.
None of this is exotic. It's standard building science. But it only works if every layer — housewrap, flashing tape, sill pan, window unit, head flashing — gets installed in the correct shingle-style order, with no layer relying on the next one to compensate for a skipped step.
What a Correct New-Construction Window Install Involves
The Rough Opening and Sill Pan
Before a window ever goes into the opening, the rough sill needs a sloped or flat sill pan that directs any water that gets past the window back outward, not into the framing. We integrate the sill pan with the housewrap below it and the window flanges above it so water always has a path out, never a path in.
Flashing Sequence
Flashing goes on in a specific order for a reason: sill flashing first, then jamb flashing up the sides, then the window itself, then head flashing over the top, lapped so each piece sheds onto the one below it — like shingles on a roof. Skipping or reversing this order is one of the most common causes of hidden leaks in new builds, and it's invisible from the outside until the siding and trim come off years later.
Nail-Fin vs. Block-Frame Installation
Most new construction in this area uses nail-fin (flanged) windows set into wood-framed walls, which is well suited to the siding types common in the Acme area. The fin gets integrated directly into the water-resistive barrier. Block-frame windows are used in different wall assemblies and require a different flashing detail entirely — we match the install method to the actual wall type specified for the build, not a one-size-fits-all approach.
Fastening and Shimming
Windows need to be shimmed square and plumb at every fastening point, not just at the corners. An out-of-square install stresses the sash, causes uneven weatherstripping contact, and shows up later as a window that's hard to operate or that whistles in a crosswind — a common complaint in a windy, storm-prone area like this one.
Interior and Exterior Sealing
Low-expansion foam or backer rod and sealant around the interior perimeter controls air leakage without bowing the frame. Exterior sealant is a secondary water barrier, applied only where it belongs in the flashing sequence — never as a substitute for it.
Choosing Window Products for This Climate
Frame material matters as much as the installation. In a climate with long stretches of damp weather and repeated wet/dry cycling, we steer new-construction clients toward vinyl or fiberglass frames with welded (not just mechanically fastened) corners, and toward dual-pane or triple-pane glass with warm-edge spacers to reduce condensation on interior glass during cold, humid mornings — a common complaint in homes near the lake and surrounding wooded areas.
| Factor | What to look for | Why it matters here |
|---|---|---|
| Frame material | Vinyl or fiberglass, welded corners | Resists moisture absorption and swelling better than finger-jointed wood over decades of damp exposure |
| Glass package | Dual or triple pane, warm-edge spacer, Low-E coating | Reduces interior condensation during humid, cool mornings common much of the year |
| Flange type | Nail-fin for wood-framed walls | Integrates cleanly with housewrap and flashing tape used on most new builds in the area |
| Weatherstripping | Dual or triple seal | Holds up against sustained wind-driven rain during fall and winter storm systems |
| Warranty structure | Manufacturer warranty plus a written installation warranty from the installer | Covers both product defects and installation error — most leak issues trace back to flashing, not the window itself |
Our Process for New-Construction Builds Near Acme
- Plan review. We review the window schedule and wall assembly details with the builder or homeowner before framing is finalized, so opening sizes and flashing details are correct before anyone shows up with a nail gun.
- Rough opening check. We verify openings are square, level, and correctly sized before installation begins — catching framing issues now is far cheaper than after siding is on.
- Sill pan and flashing installation. Sill pans, jamb flashing, and head flashing go in following the shingle-lap sequence, integrated with the housewrap already on the wall.
- Window setting and fastening. Units are shimmed square, fastened per manufacturer spec, and checked for smooth operation before final sealing.
- Interior and exterior sealing. Foam or backer rod on the interior, sealant on the exterior only where the flashing plan calls for it.
- Final walkthrough. We test every operable window and document the flashing installation before siding covers it up — once trim goes on, that flashing is invisible for the life of the house.
What to Confirm Before Your Windows Go In
- Sill pan flashing is specified at every rough opening, not just openings the builder flags as "problem spots"
- The flashing sequence follows shingle-lap order (sill, then jambs, then head) — ask to see it before siding covers it
- Frame material and glass package match the exposure of each wall (south/west walls typically take more weather)
- Written installation warranty is separate from the manufacturer's product warranty
- Rough openings are checked for square before the crew starts, not after a window doesn't fit right
Why a Crew That Already Works This Area Matters
New-construction window installation isn't complicated in theory, but it's unforgiving of shortcuts, and the consequences don't show up until a wall gets opened up years later. A crew that already installs windows on builds throughout Sudden Valley and the surrounding Whatcom County communities has already seen how the local wet season, humidity, and moss growth interact with different flashing details over time — that's not something you get from a manufacturer's install manual alone. We know which details need extra attention on shaded, tree-covered lots and which wall orientations take the worst of the driving rain, and we build the flashing plan around that from the start rather than treating every opening the same.
If you're building near Acme and want windows installed correctly the first time — not re-flashed in five years — we're happy to walk the plans with you or your builder. Reach out for a free, no-pressure estimate using the form below.