 Sudden Valley Siding
 New-Construction Windows in Deming: A Different Job Than Replacement
When people hear "window installation," most think of replacement windows going into an existing opening. New-construction windows are a different product and a different job entirely. They come with a nailing fin around the perimeter of the frame, and they're designed to be installed before the siding goes on — set into a stud-framed rough opening, flashed into the weather-resistive barrier, and integrated with the wall assembly from the outside in. In Deming, we see this job most often on new builds, additions, and full re-side projects where the siding is coming off down to the studs anyway, which is the right time to switch from old insert-style windows to a properly flashed new-construction unit.
Getting this step right matters more here than in drier parts of the state. Whatcom County sees a long wet season, and homes tucked along the Nooksack River corridor near Deming deal with heavy tree cover, shade, and humidity that keeps moisture around longer after a storm than it would in an open, sunny lot. A window opening that isn't flashed correctly the first time doesn't usually fail in year one — it fails quietly, inside the wall, over several wet seasons.
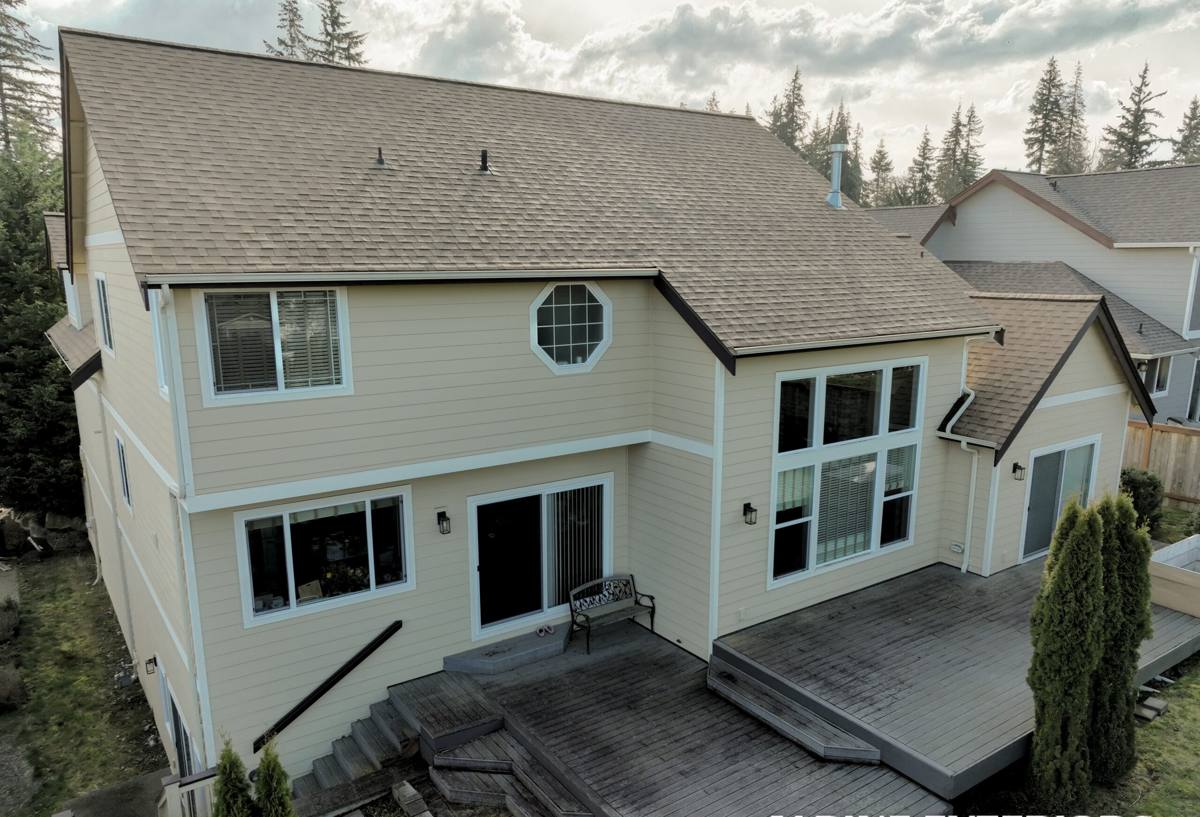
Why Local Climate Conditions Change How This Job Should Be Done
Whatcom County's weather isn't extreme, but it's persistent. Driving rain off the water and long stretches of overcast, damp weather are normal here, and homes further inland near Deming pick up their own version of that same moisture load from surrounding forest and river-bottom humidity. Add a moss season that can run most of the year on north-facing walls and shaded rooflines, and you've got conditions that punish any gap in the building envelope.
None of this means new-construction windows need to be exotic or over-engineered. It means the basics — sill pan flashing, correctly lapped house wrap, proper sealant placement, and a frame material that won't degrade in sustained moisture — have to be done in the right order, every time. Skipping or rushing any one of these is how a window that looks fine on installation day starts showing staining, soft trim, or interior moisture two or three winters later.
What This Looks Like in Practice
- Sill pans installed under every window, not just the ones facing weather
- House wrap or building paper lapped shingle-style so water sheds outward at every seam
- Corner and head flashing that ties into the wrap rather than sitting on top of it
- Backer rod and sealant at the right joints — not sealant used to compensate for a bad flashing job
- Frame materials matched to the exposure of each wall, not a single spec for the whole house
What a Correct Installation Actually Involves
New-construction window installation happens in a specific sequence, and each step depends on the one before it being done correctly. Rushing or reordering these steps is the single most common cause of window-related moisture problems we're called out to fix on older homes in this area.
1. Rough Opening Prep
The opening has to be square, correctly sized, and free of debris before the window ever shows up on site. We check level and plumb here, not after the window is already set — it's much cheaper to shim a frame correctly than to fight a racked window later.
2. Sill Pan and Flashing
A sloped sill pan directs any water that gets past the window back outside the wall assembly instead of down into the framing. This is the step most likely to get skipped on a rushed job, and it's the one that causes the most damage when it's missing.
3. Setting the Window
The unit gets set into the opening, checked for square, and fastened through the nailing fin per the manufacturer's schedule. Over-driving or under-driving fasteners here can bow a frame just enough to affect how the sash operates for years afterward.
4. Integrating with the Weather Barrier
Flashing tape and house wrap get lapped over the nailing fin in the correct order — sides first, then top — so water always sheds down and out, never into a seam.
5. Sealing and Trim
Exterior sealant, trim, and siding go on last, once the window is confirmed weathertight. This is also when interior sill and jamb details get finished.
Choosing a Frame Material for This Area
There's no single "best" window material — the right choice depends on the wall's sun exposure, the home's style, and how much upkeep the owner wants to take on. Here's how the common options compare for a new-construction project in a wet, moss-prone climate like this one.
| Frame Material | Moisture Performance | Maintenance | Typical Fit |
|---|---|---|---|
| Vinyl | Good — won't rot, handles sustained moisture well | Low | Most new builds and re-sides |
| Fiberglass | Very good — stable in temperature and moisture swings | Low | Larger openings, higher-exposure walls |
| Wood-clad | Good on the exterior clad side, but interior wood needs protection from condensation | Higher | Homes prioritizing a wood interior look |
| Aluminum | Poor thermal performance, prone to condensation in this climate | Moderate | Rarely recommended for full weather walls here |
For most homes in the Deming area, we steer people toward vinyl or fiberglass on exterior-exposed walls simply because they hold up to sustained damp weather with the least ongoing attention. Wood-clad units can look great, but the owner needs to understand the maintenance commitment — a neglected wood-clad window in a shaded, humid location is exactly the kind of unit that develops problems early.
Our Process, Start to Finish
- Walkthrough and measure: We look at every opening, note sun and rain exposure per wall, and measure for exact fit.
- Product selection: We go over frame material, glass package, and grille options based on the home and budget — no upselling to a spec the house doesn't need.
- Written estimate: Scope, materials, and timeline in writing before anything is ordered.
- Installation: Rough opening prep, sill pan, window set, flashing integration, and sealing, done in sequence on each opening — we don't move to the next window until the current one is fully weathertight.
- Final check: Interior and exterior inspection of every unit, operation check on all sashes, and a walkthrough with the homeowner before we call the job done.
Mistakes We See — and Build Our Process to Avoid
Most window problems we're asked to diagnose on existing homes trace back to a handful of installation shortcuts: missing or reversed sill pan flashing, house wrap taped in the wrong order, sealant used in place of proper flashing, or fasteners driven incorrectly through the nailing fin. None of these show up on day one. They show up as staining below a window, a soft spot in interior trim, or a musty smell in a wall cavity a few winters down the road — right when moss and driving rain have had time to work on a weak spot.
Building the flashing sequence correctly the first time costs nothing extra in materials. It just takes doing the job in the right order and not skipping steps to save an afternoon.
What Affects Cost on a New-Construction Window Job
| Factor | Why It Matters |
|---|---|
| Number and size of openings | More or larger windows means more flashing detail and labor time |
| Frame material | Vinyl is typically the most economical; fiberglass and wood-clad cost more upfront |
| Wall exposure | Openings facing prevailing wind and rain may warrant extra flashing detail |
| Access and framing condition | New-build framing is usually straightforward; re-side projects can uncover surprises once old siding comes off |
| Glass and performance upgrades | Low-E coatings and upgraded glass packages add cost but help with condensation and energy performance |
We don't quote a job without seeing the openings and the framing condition in person — anyone quoting a whole-house price over the phone is guessing, and guesses tend to turn into change orders.
What to Ask Before Hiring a Crew for This Work
- Do you install a sloped sill pan on every window, or only where you think it's needed?
- How do you sequence flashing tape with the house wrap — sides first or top first?
- What frame materials do you recommend for this wall's sun and rain exposure, and why?
- Will the same crew handle both the window install and the siding tie-in, or is that a handoff?
- What's in writing — product, fastening schedule, flashing method, and warranty coverage?
If a contractor can't answer the flashing sequence question clearly, that's worth noting before you sign anything.
Why Local Experience in Deming Matters
A crew that regularly works this part of Whatcom County has already seen how the moisture load here plays out over time — which walls hold dampness longest under tree cover, where moss tends to establish first, and which detailing choices actually hold up through a full wet season rather than just looking good on installation day. That's not something you get from a general install checklist; it comes from doing this specific work, in this specific climate, repeatedly.
If you're planning new-construction windows for a build, addition, or full re-side in Deming, we're happy to walk the openings with you, talk through frame and glass options, and put together a straightforward written estimate — no pressure, no obligation. The form below gets you started.