 Sudden Valley Siding
 Building New in Silver Beach: What the Windows Need to Handle
Silver Beach sits close enough to Lake Whatcom and the broader Bellingham Bay air mass that new-construction windows here deal with more than a typical inland build. Moisture-laden marine air moves through this part of Whatcom County most of the year, driving rain comes in sideways during fall and winter storms, and the shoulder seasons bring long stretches of damp, low-sun conditions that keep every north- and west-facing surface wet for days at a time. None of that is exotic — it's just the Pacific Northwest doing what it does — but it means a window package that would be fine in a drier climate can start showing problems here within a few years if it's not selected and installed with this exposure in mind.
For a brand-new home, this is actually the best possible moment to get it right. You're not fighting old flashing, rotted sheathing, or a stucco wall that was never designed to be opened up. You get to build the window opening, the drainage plane, and the water management detailing all at once, in the right order. That's the whole advantage of new-construction window work over a retrofit, and it's worth taking seriously.
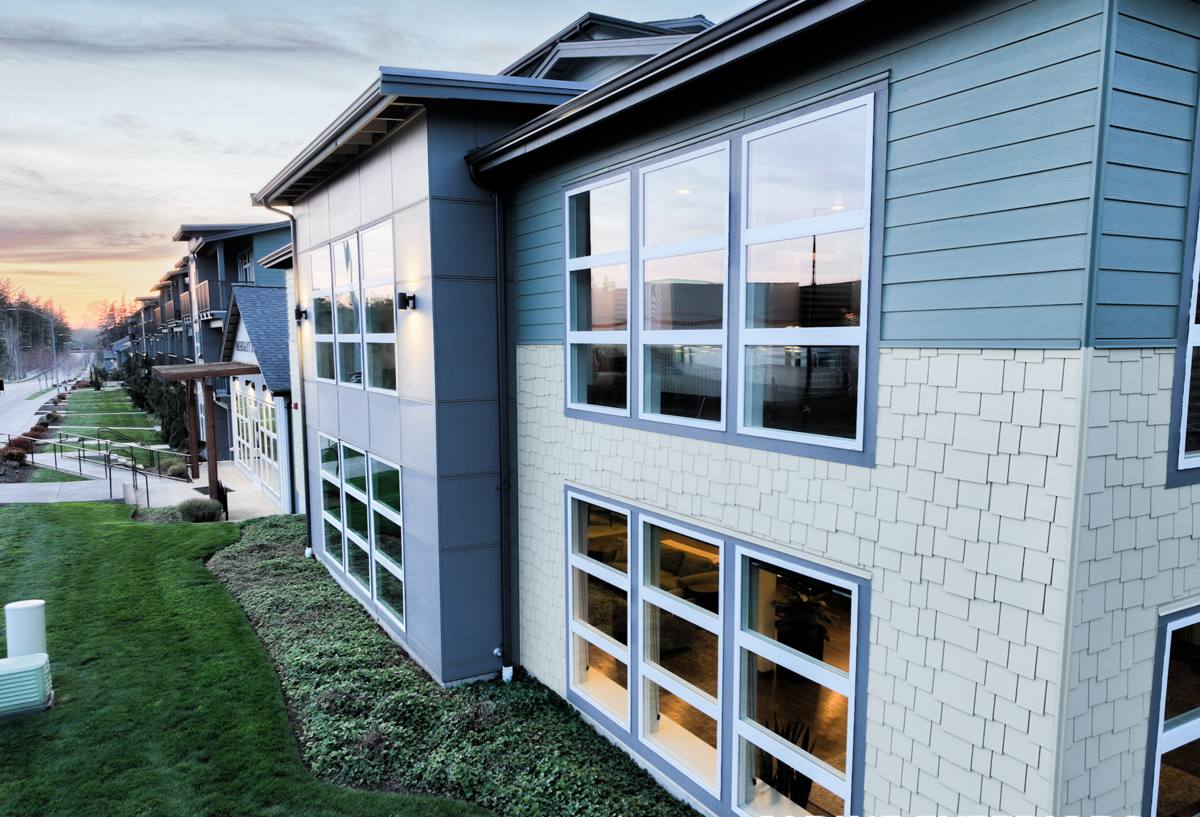
New-Construction vs. Replacement Windows — Why the Distinction Matters
New-construction windows have a nailing flange (fin) around the perimeter that gets integrated directly into the wall's weather-resistive barrier before siding goes on. Replacement windows are built to fit into an existing opening without disturbing the exterior finish. On a new build, you always want a true nail-fin unit installed in the correct flashing sequence — never a retrofit-style window forced into new framing to save a step, and never a window set with sealant alone standing in for proper flashing.
The reason this distinction gets money is water. A nail-fin window done correctly sheds water down and out over the WRB, the same way shingles overlap on a roof. Skip a step, reverse the order, or rely on caulk to do a flashing tape's job, and water finds its way behind the siding — often invisibly for a year or two before it shows up as a stain, a soft spot, or a musty smell inside a wall that looked perfect on move-in day.
Where new construction gives you an advantage
Because the wall isn't finished yet, we can:
- Flash the rough opening in the correct shingle-lap order before the window ever goes in
- Set the window plumb, level, and square without fighting existing trim or siding
- Tie the window's drainage plane cleanly into the house wrap and any rainscreen gap
- Verify sill pan drainage before insulation and drywall cover the evidence
What a Correct New-Construction Window Install Actually Involves
Flashing and drainage sequencing
The order matters more than the materials. Sill pan flashing goes in first, sloped to drain outward, followed by the window itself, then jamb flashing, then head flashing lapped over the housewrap above the opening — never under it. Every layer overlaps the one below it so water is always directed outward and down, never trapped behind the assembly. This is the step that gets rushed on production builds when a crew is trying to close in a house fast, and it's the step that determines whether the window still performs in fifteen years.
Rough opening tolerances
New-construction windows need consistent, correct-sized rough openings with shims placed at the manufacturer's specified load points — not just wherever the frame happens to sit level. An opening that's slightly out of square gets forced during install, which pre-loads stress on the frame and can telegraph into sash operation problems (hard-to-close casements, sliders that bind) well before the glass or hardware would otherwise fail.
Sealing without over-sealing
A common mistake is sealing a window on all four sides like it's a bathtub. New-construction windows need to breathe on the interior side in specific spots so any incidental moisture that does get past the exterior detailing can dry inward rather than getting trapped in the wall cavity. Correct sealant placement — exterior weatherproof, interior air-seal, but not a fully sealed box — is a detail that separates a careful install from a fast one.
Choosing Window Products for This Climate
Frame material and glass package both matter here, and the right choice is less about brand and more about how the material behaves under sustained damp exposure.
| Frame Material | Moisture Behavior Here | Maintenance | Typical Fit |
|---|---|---|---|
| Vinyl | Doesn't rot or corrode; welded corners resist water intrusion well | Low — occasional cleaning | Most new-construction budgets |
| Fiberglass | Very stable in wet/dry cycling; expands and contracts close to glass | Low | Larger openings, higher-end builds |
| Wood-clad | Interior wood look with an exterior-facing clad shell; clad seams need good detailing | Moderate — clad joints and interior wood need attention | Homeowners wanting a wood interior |
| Bare aluminum | Conducts cold, prone to condensation and corrosion over time in wet marine air | Higher — corrosion and condensation upkeep | We generally steer new builds away from this here |
On glass, we lean toward dual-pane units with a low-E coating tuned for a heating-dominated climate — the priority in Whatcom County is keeping heat in, not keeping it out, so U-factor matters more here than solar heat gain coefficient. Triple-pane can make sense on a north-facing wall or a particularly exposed elevation, but it's rarely worth the added cost on every window in the house. Argon gas fill is standard and worth having; it's a minor cost adder with a real, if modest, performance benefit.
Our Process for New-Construction Window Installs
- Plan review: we look at window schedule, rough opening sizes, and elevation exposure before the walls are even framed, so nothing gets ordered wrong or sized wrong.
- Timing with the builder or GC: windows go in after the WRB is up and before siding starts — we coordinate directly with whoever is running the framing and siding schedule.
- Flashing and sill pan installation: done to the correct shingle-lap sequence, checked before the window is set.
- Window setting: shimmed, squared, and fastened per manufacturer spec at every required attachment point — not just the corners.
- Head and jamb flashing: integrated into the housewrap so water sheds outward, never behind it.
- Interior air-sealing: low-expansion foam or backer rod and sealant around the frame perimeter, done in a way that still allows inward drying.
- Final check: operation, sash alignment, and weatherstripping contact verified on every unit before we sign off.
Common Mistakes We Watch For on New Builds
Most window problems on new construction don't show up for a year or two, which is exactly why they're easy to miss if nobody's specifically checking for them. Things we look for on every job, whether we did the framing prep or we're stepping onto someone else's job site mid-build:
- Head flashing tucked under the housewrap instead of lapped over it
- Caulk used in place of proper flashing tape at the sill
- Rough openings out of square, forcing the frame during install
- Missing or improperly sloped sill pans
- Over-sealed interior perimeters that trap moisture instead of letting it dry
- Shims placed only at corners instead of at load-bearing points along the jamb
- Window units substituted or resized on-site without rechecking flashing details
Why a Crew That Already Works Silver Beach Matters
A lot of window problems in this climate aren't caused by bad windows — they're caused by installation details that would be fine in a drier region but don't hold up under sustained Whatcom County damp. A crew that works Sudden Valley and Silver Beach regularly already knows which elevations on a given lot take the worst weather, how long the moss season actually runs here, and what level of flashing overlap is worth the extra ten minutes versus what's overkill. That local pattern recognition is hard to substitute with a generalized install checklist.
There's also a practical coordination side to it. We know the local building department's inspection expectations, we're used to working alongside other trades on an active build site without slowing the schedule down, and we're not learning the area's weather quirks on your project for the first time.
Cost Factors for New-Construction Window Packages
Every new build is different, so we won't quote a number without seeing the plans, but the main variables that move the price are consistent from job to job:
| Factor | Why It Affects Cost |
|---|---|
| Frame material | Vinyl is the most budget-friendly; fiberglass and wood-clad cost more upfront |
| Number and size of openings | More glass and larger units mean more material and labor per window |
| Glass package | Triple-pane, upgraded low-E coatings, and tempered/safety glass all add cost |
| Exposure and elevation | Weather-exposed walls may warrant extra flashing detail or upgraded sealing |
| Site access and timing | Coordinating install around a tight framing schedule can affect scheduling costs |
| Special shapes or sizes | Custom or oversized units cost more than standard stock sizes |
As a rough starting point for planning purposes, mid-range vinyl new-construction windows typically run in the low-to-mid hundreds of dollars per unit installed, with fiberglass and wood-clad options running higher — but the only way to get a real number is to walk the plans with you.
Get a Straight Answer on Your Window Package
If you're building in Silver Beach or elsewhere around Sudden Valley, we're happy to look at your plans and talk through window selection and flashing details before the walls even go up — that's the best time to catch anything that would be expensive to fix later. Reach out for a free, no-pressure estimate using the form below.