 Sudden Valley Siding
 New Construction Windows Are a Different Job Than Replacements
When people hear "window installation," most picture swapping an old window out of an existing wall. New-construction window work is a different trade problem entirely. There's no existing frame to work around, no old flashing to inspect and patch — you're setting windows into a bare rough opening, often before siding, sometimes before the weather-resistive barrier is even fully run. Every layer that keeps water out of that wall long-term gets built around the window, not the other way around. Get the sequence wrong at this stage and the mistake gets covered up by siding and trim for the next twenty or thirty years, quietly doing damage the whole time.
For a South Hill build near Sudden Valley, that sequencing matters more than it would in a drier climate. Whatcom County gets long stretches of driving rain, and a lot of it comes in sideways off wind, not just straight down. A window that's "close enough" on flashing in a milder climate is a liability here.
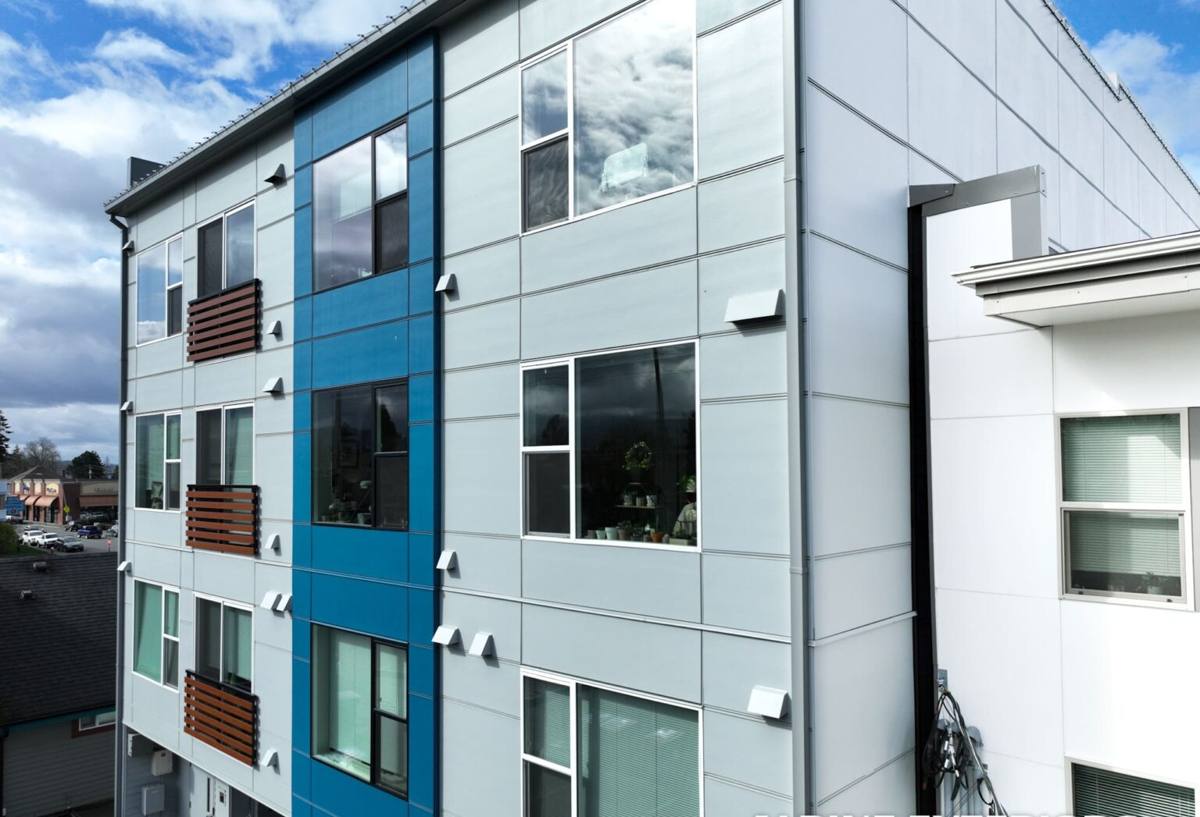
What South Hill's Climate Actually Demands From a New Window Install
South Hill homes deal with three climate factors that shape how we approach new-construction window work: persistent moisture, salt-tinged air moving through the region, and a moss season that stretches for much of the year. None of these are dramatic, headline-grabbing weather events — they're slow, cumulative pressure on a building envelope, and that's exactly why they get overlooked until there's a problem.
Driving Rain and Wind-Driven Moisture
Whatcom County's rain doesn't just fall — wind pushes it under trim, into reveals, and against upper courses of siding around window openings. New-construction windows need flashing details that assume wind-driven rain, not just gravity-fed runoff. That means proper head flashing with an actual drip edge, not just a bead of sealant and hope.
Salt Air and Metal Fatigue
Areas of Whatcom County exposed to salt-carrying air put extra stress on unprotected fasteners, cheap flashing metals, and window hardware. Over years, that exposure accelerates corrosion on anything that wasn't spec'd for it. On new builds, this is the cheapest possible time to spend a little more on corrosion-resistant fasteners and flashing — it's invisible once the wall is closed up, and it's genuinely hard to fix later without tearing back into finished siding.
A Long Moss Season
Moss doesn't grow directly on window glass, but it thrives on anything nearby that stays damp — window sills, trim boards, the tops of window headers where debris collects. A new-construction install that leaves flat, poorly-sloped sill details or traps organic debris against wood trim is setting up a moss and rot problem three to five years down the road, right around the windows themselves.
The Anatomy of a Correct New-Construction Window Install
A correct install isn't one step — it's a sequence, and each layer depends on the one before it being done right. This is the order we follow and expect any crew working on a South Hill build to follow as well.
1. Rough Opening Prep
The rough opening gets checked for square, level, and correct dimensions before the window ever shows up on site. Sill pans go in first — a rigid, sloped pan that directs any water that gets past the window straight back out to the exterior, rather than letting it sit against the framing.
2. Weather-Resistive Barrier Integration
The WRB (house wrap or equivalent) has to be sequenced correctly around the opening — typically a modified "shingle-lap" method where each layer overlaps the one below it, so water always sheds downward and outward, never behind the layer beneath it.
3. Setting the Window
The window gets set into the pan, checked again for level and plumb, and fastened per the manufacturer's instructions — not "close enough" nailing patterns. Fastening schedules exist because they're tied to the window's structural and warranty performance.
4. Flashing the Sides and Head
Side flashing ties into the WRB below it; head flashing goes in last and laps over the WRB above it, with a proper drip edge that kicks water away from the wall face — the detail that matters most under South Hill's wind-driven rain.
5. Sealant and Backer Rod
Sealant is the last line of defense, not the first. It gets backed by rod where gaps are too wide for sealant alone to perform, and it's tooled properly so it actually adheres rather than just sitting in the joint.
Window Frame Materials: What We Install and Why
Material choice matters as much as installation quality. Here's how the common new-construction frame options compare for a coastal Whatcom County climate:
| Frame Material | Moisture Resistance | Maintenance | Typical Lifespan |
|---|---|---|---|
| Vinyl | Good — won't rot, but seals and hardware need periodic checks | Low | 20-30 years |
| Fiberglass | Very good — dimensionally stable in wet, humid conditions | Low | 30-40+ years |
| Wood-clad | Good on the exterior clad face, but any breach exposes wood core to rot | Moderate to high | 25-35 years with upkeep |
| Aluminum | Poor thermal performance, prone to condensation in this climate | Moderate | 20-30 years |
Vinyl and fiberglass are our default recommendations for new construction in this area — both handle sustained moisture and humidity without the maintenance burden or rot risk that comes with a wood core. Wood-clad windows can still be a good choice where the homeowner wants a specific interior wood look, but we're honest about the added upkeep that comes with it, especially with the amount of rain South Hill sees.
Glass and Performance Specs Worth Asking About
Beyond frame material, the glass package does a lot of the work. Low-E coatings, argon or krypton gas fill between panes, and a solid U-factor rating all affect how well a window resists condensation and heat loss — condensation on interior glass is a common complaint in humid coastal climates like ours, and it's largely a function of glass package, not just frame quality.
Our Process: From Rough Opening to Final Trim
- Site walk and coordination — we work directly with the builder or framer to confirm rough opening sizes and schedule around framing and WRB installation.
- Material delivery and inspection — every window is checked for shipping damage, correct size, and correct swing/configuration before it goes in.
- Sill pan and WRB integration — done before a single window is set.
- Setting and fastening — per manufacturer spec, checked for level, plumb, and square.
- Flashing sequence — sides, then head, lapped correctly with the surrounding WRB.
- Sealant and backer rod — tooled, not just squeezed in.
- Interior and exterior trim coordination — timed with siding and trim crews so nothing gets covered up before it's inspected.
- Final walkthrough — operation, hardware, and visible sealant lines checked before we call it done.
Common Mistakes We See on New-Construction Jobs
Most of the problems that show up in windows five or ten years after a build trace back to a handful of recurring issues:
- Sealant used as a substitute for proper flashing instead of a backup to it
- WRB layers overlapped in the wrong order, letting water track behind the barrier instead of over it
- Missing or poorly sloped sill pans that let water pool against framing
- Fastening schedules skipped or shortcut, weakening structural performance and voiding warranty coverage
- Trim details that trap debris and moisture against the window, feeding moss and organic growth
- Standard fasteners and flashing metals used in areas with salt-air exposure, leading to early corrosion
Checklist: What to Confirm Before Your New-Construction Windows Go In
- Rough openings measured and confirmed against actual window order sizes
- Sill pan flashing specified for every window opening, not just the exposed elevations
- WRB installation sequence coordinated with the window crew, not scheduled independently
- Frame material and glass package matched to the home's exposure (wind, rain, sun orientation)
- Fastener and flashing metal type appropriate for coastal, salt-air conditions
- A clear plan for how trim and siding crews will finish around each opening
Why Hire a Crew That Already Works South Hill and Sudden Valley
New-construction window installation is unforgiving of guesswork, and a crew that hasn't worked this specific area doesn't always know what it's dealing with. We've seen how South Hill's combination of driving rain, salt-tinged coastal air, and long wet seasons plays out on real builds over time — which details actually matter here versus which ones are just generic best practice from a drier region. That local pattern recognition shows up in small decisions: which fastener grade we default to, how we detail a sill pan on a west-facing wall that takes the brunt of the weather, and how we sequence work around the wetter months so water isn't sitting in an open wall assembly longer than it has to.
We also coordinate directly with builders and framing crews on new-construction jobs, rather than treating window installation as an isolated task. That coordination is what keeps a rough opening from sitting exposed to weather longer than necessary, and it's what keeps flashing sequencing correct even when a build schedule gets compressed.
Let's Talk About Your South Hill Build
If you're framing a new home or addition in South Hill or the greater Sudden Valley area and want windows installed right the first time, we're happy to walk through your plans and give you a straightforward, no-pressure estimate. Use the form below to get started — there's no obligation, just an honest look at what your project needs.